
The boss fight: the Factory robots
Two bosses at once. The Forgemaster builds robots without ever stopping; the Sentinel shields him with a force field and marks your heroes for his machines. On the factory ceiling, a laser gantry sweeps the deck — and it can turn against them.
In short
- Where — off the calendar since Monday 12 October 2026: the PvE selector offers the calendar’s boss, as the Waris boss or as the weekly boss in USDC: the Matriarch until Sunday 18 October 2026, the Goleling King from Monday 19 October.
- Two bosses — the Forgemaster (6,000 HP) and the Sentinel (4,000 HP): your damage to both counts, not your damage to the robots.
- Assembly — every turn, the Forgemaster builds a Kamikaze or a Turret, two once he is below half his HP. No limit.
- Force field — as long as the Sentinel is within 4 tiles of the Forgemaster, he only takes half the damage.
- Laser gantry — it aims at bands of two rows or two columns, then fires on the heroes on the Forgemaster’s next turn. A hero on the console hacks it.
- Limit — 50 turns at most: it’s the damage dealt that counts for the leaderboard.
The Forgemaster and the Sentinel
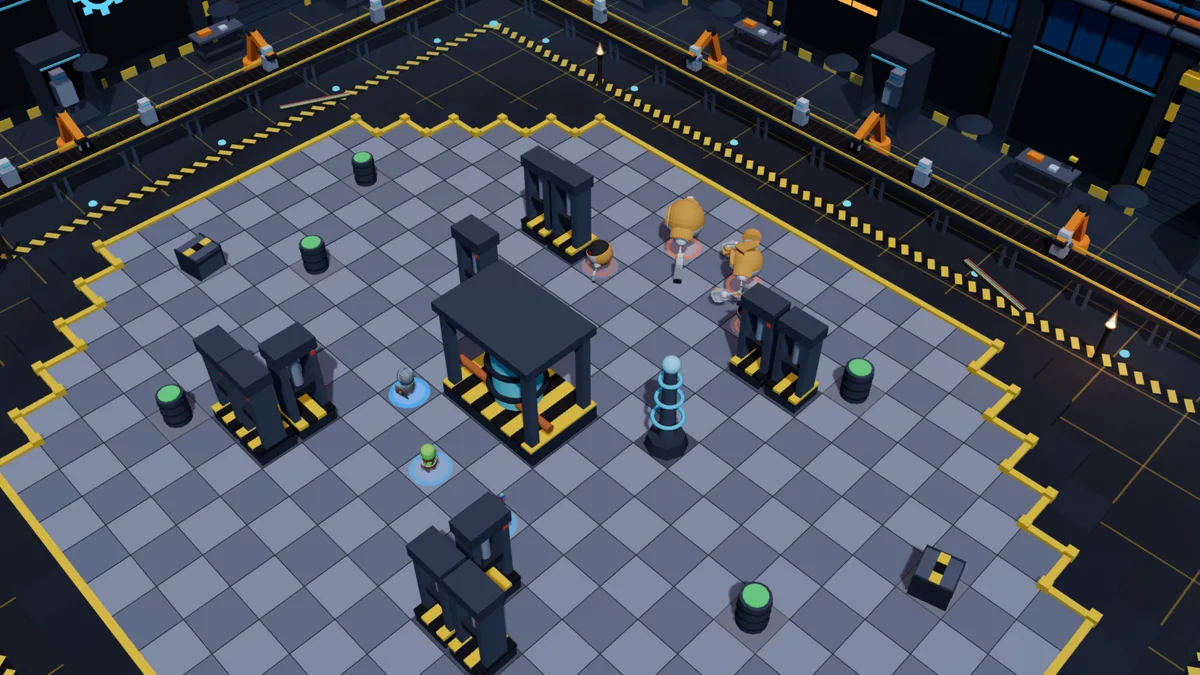
The two bosses start at the top of the deck, side by side, and each plays its own turn. They have 10,000 HP between them, whether you’re solo, a duo or a trio; only their robots get sturdier as the group grows. Both keep their distance and take cover once they have fired. The laser gantry does not aim at them: they have no need to avoid it.
| Fighter | HP solo | HP duo | HP trio | AP | MP | Role |
|---|---|---|---|---|---|---|
| Forgemaster | 6 000 | 6 000 | 6 000 | 10 | 3 | Boss |
| Sentinel | 4 000 | 4 000 | 4 000 | 10 | 5 | Boss |
| Kamikaze | 90 | 110 | 130 | 2 | 4 | Summon |
| Turret | 110 | 130 | 160 | 4 | 2 | Summon |
Their spells
The Forgemaster
| Spell | AP | Range | Per turn | Effect |
|---|---|---|---|---|
| Assembly | 4 | self | 1 | Builds a robot within 2 tiles of him: a Kamikaze, then a Turret, and so on. Two at a time once he is below half his HP. No limit: you have to destroy them. |
| Rivets | 3 | 1 – 5 | 1 | 50 to 65 damage up to 5 tiles, in line of sight. Once per turn. |
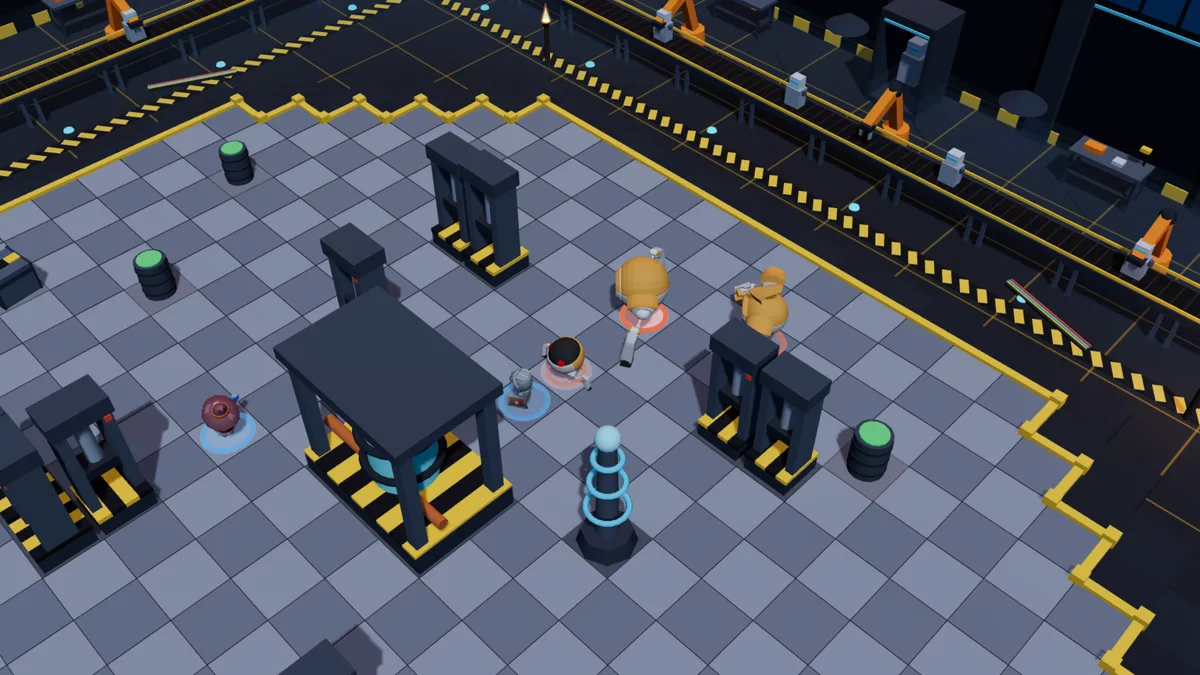
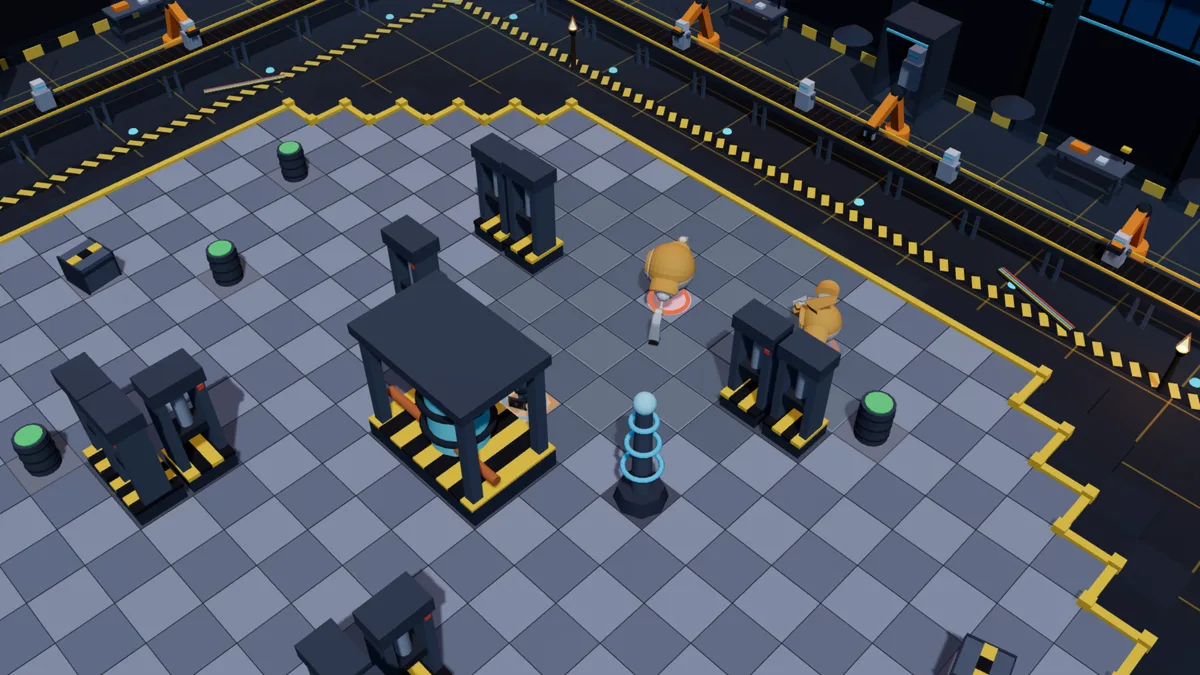
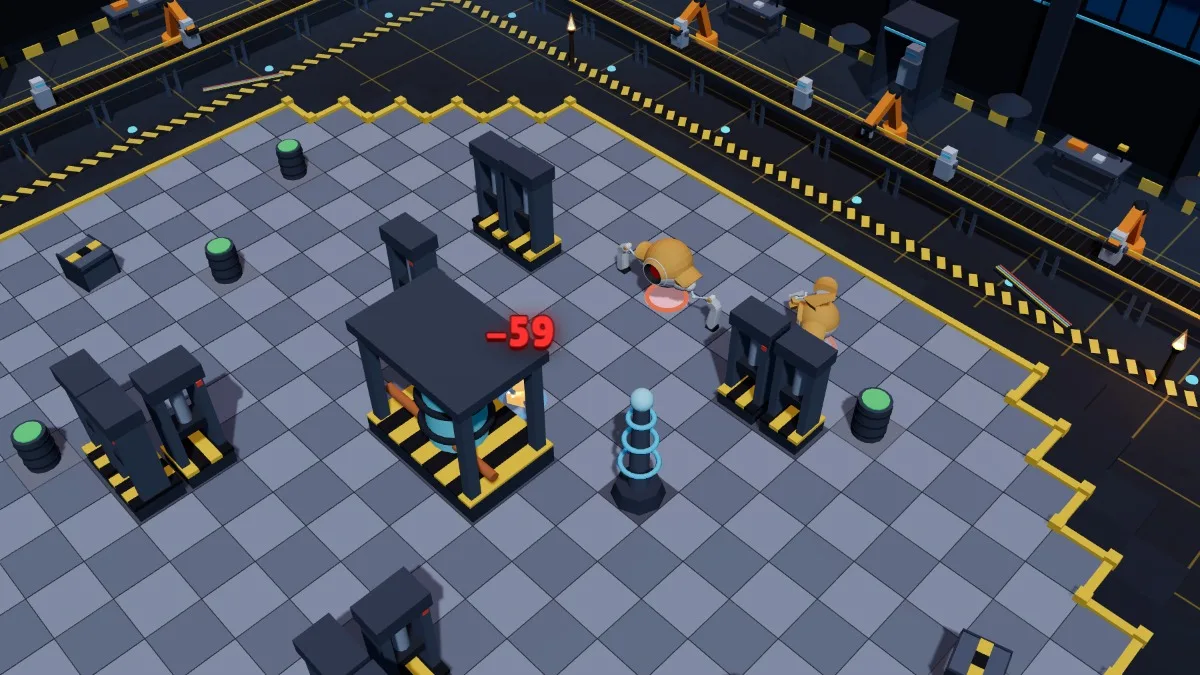
- Assembly — a robot within 2 tiles of him: a Kamikaze, then a Turret, and so on. The Kamikaze appears as close as possible to your heroes, the Turret on a tile that already has a firing line. Below 50% of his HP, he assembles 2 at a time.
- Rivets — his only shot: one target up to 5 tiles away, in line of sight, once per turn.
- He is slow (3 MP) and doesn’t expose himself: he shoots from afar then falls back under the Sentinel’s field.
The Sentinel
| Spell | AP | Range | Per turn | Effect |
|---|---|---|---|---|
| Lock-on | 2 | 1 – 12 | 1 | Locks onto a hero in sight, up to 12 tiles away. Until her own next turn, Kamikazes rush that hero, and Turret shots deal 30% more damage to them. Only one hero locked on at a time. |
| Beam | 4 | 2 – 7 | 1 | 70 to 90 damage from 2 to 7 tiles, in line of sight. Once per turn. |
- Lock-on — she locks onto a hero until her next turn, usually the one who threatens the Forgemaster most. The Kamikazes rush at them, and the Turrets deal them 30% more damage. Only one hero is locked on at a time.
- Beam — her shot, from 2 to 7 tiles: she can’t hit a hero standing next to her.
- She is mobile (5 MP) and stays close to the Forgemaster. If he falls, she has nothing left to guard: she hunts.
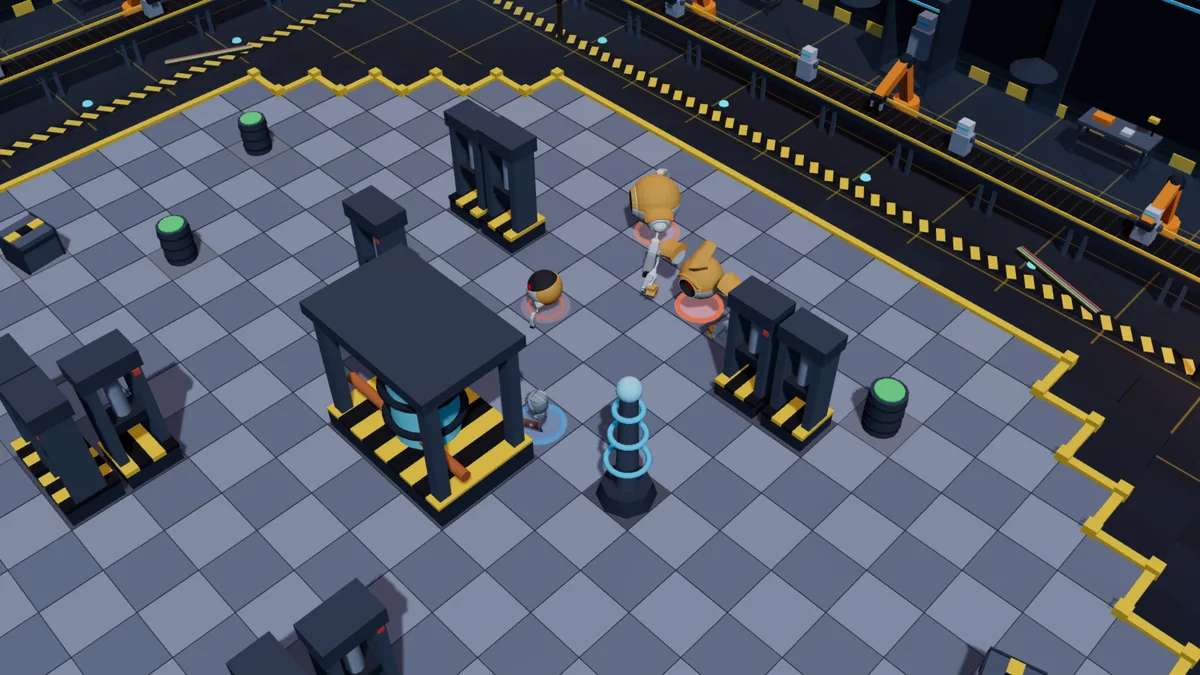
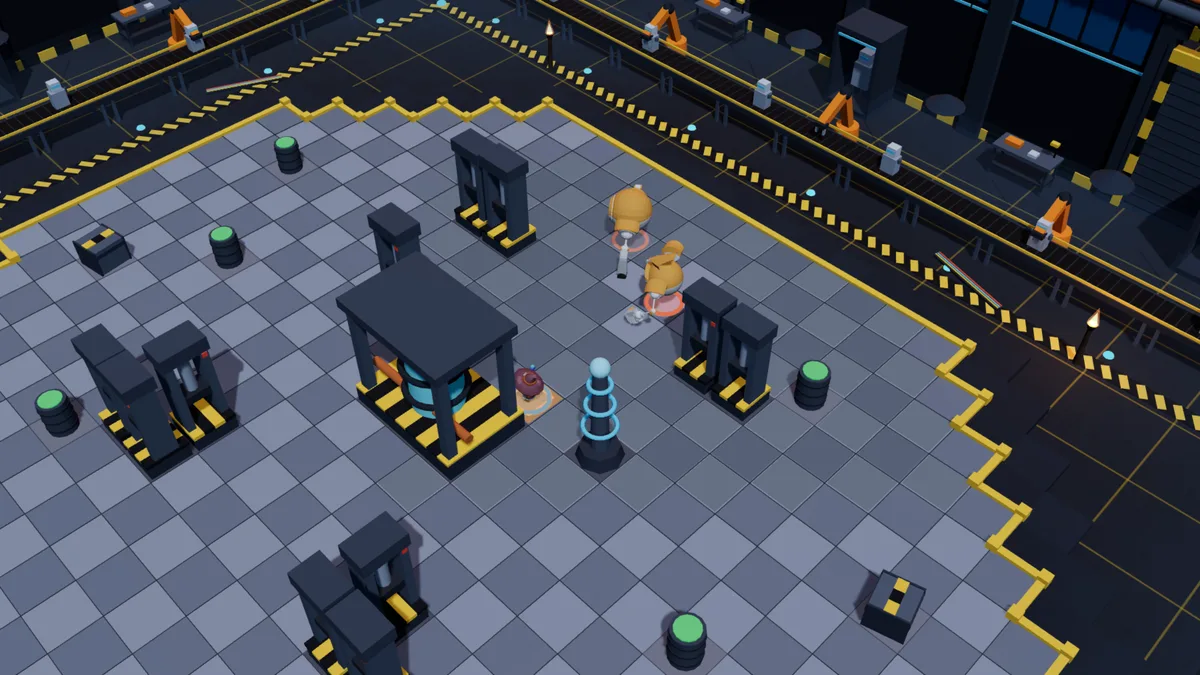
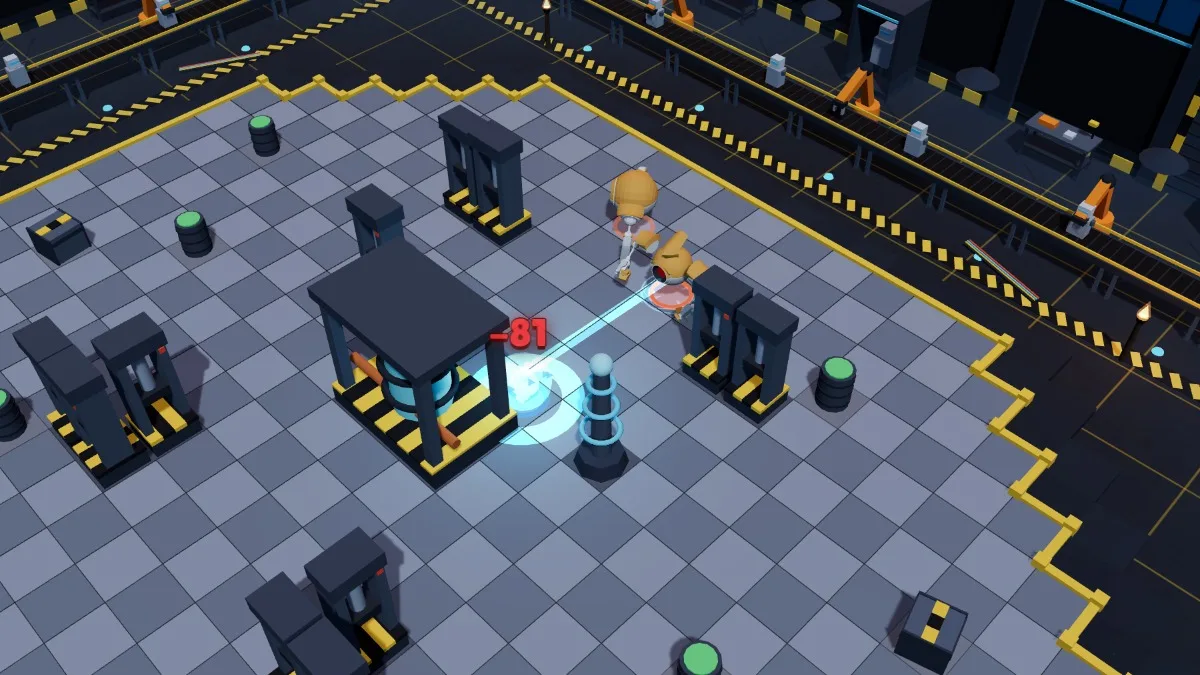
The assembled robots
The Forgemaster starts the fight with a first robot already assembled, then adds more on each of his turns. Their HP depends on the size of the group (table above). The robots never stop coming: destroying them as they arrive is the heart of the fight. If the Forgemaster falls, all his robots fall with him.
| Spell | AP | Range | Per turn | Effect |
|---|---|---|---|---|
| Self-destruct | 0 | self | 1 | Next to a hero, it explodes: 130 to 160 damage on its tile and the 8 around it, to heroes and their summons only, then it is gone. Destroyed first, it does not explode. |
| Spell | AP | Range | Per turn | Effect |
|---|---|---|---|---|
| Cannon shot | 4 | 1 – 8 | 1 | 55 to 70 damage, in a straight line only, up to 8 tiles, in line of sight. 30% more against the hero locked on by the Sentinel. |
- Kamikaze — 4 MP, low HP. It looks for the tile from which its explosion will catch the most heroes. Next to a hero, it explodes: 130 to 160 damage to heroes and their summons on the 8 tiles around it, then it disappears: the bosses and the other robots take nothing. Destroyed first, it doesn’t explode.
- Turret — 2 MP, low HP. It only fires in a straight line, up to 8 tiles, and hits the locked-on hero harder. Off its lines, you have nothing to fear.
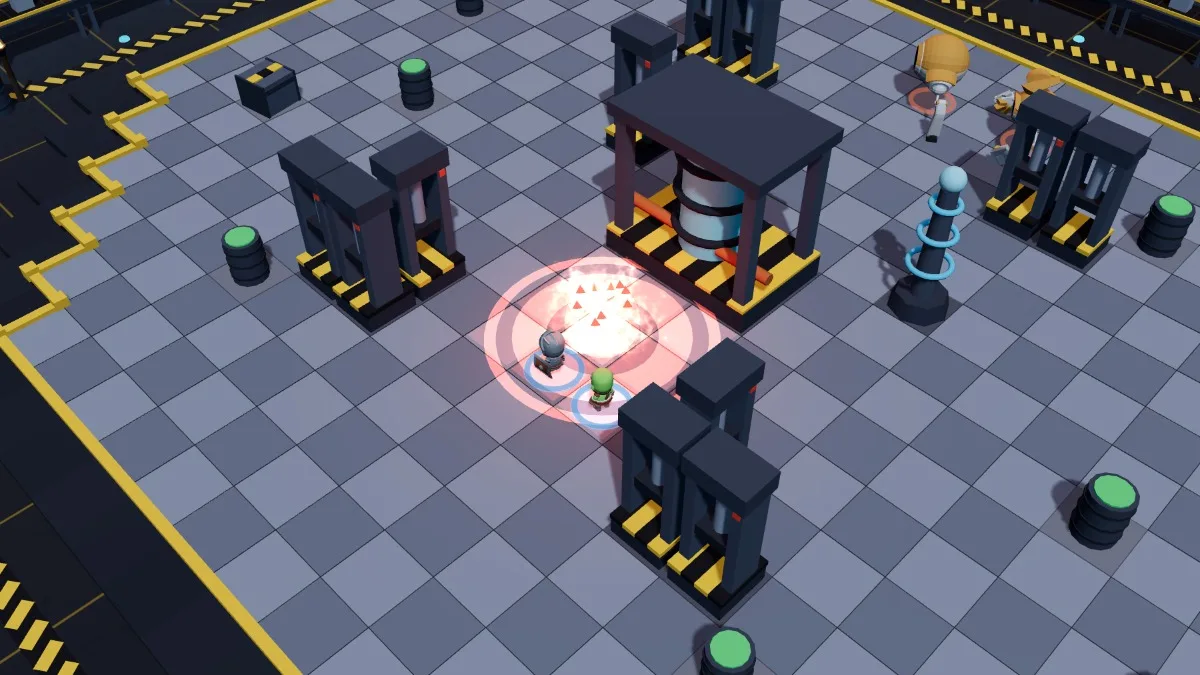
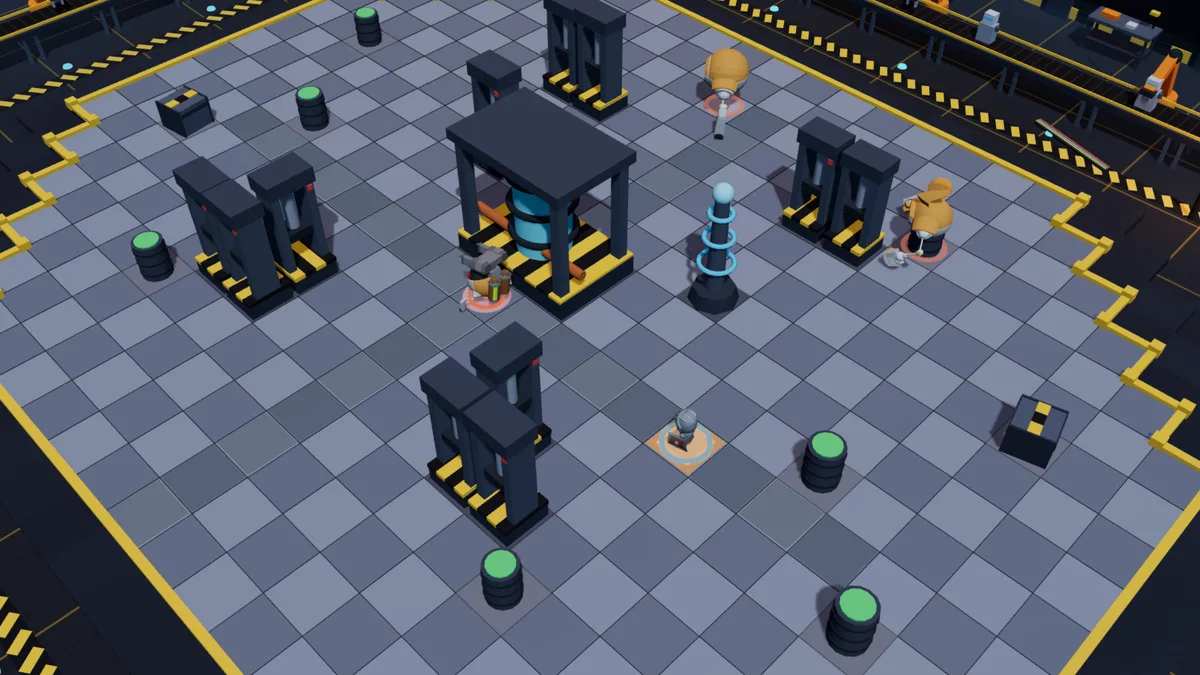
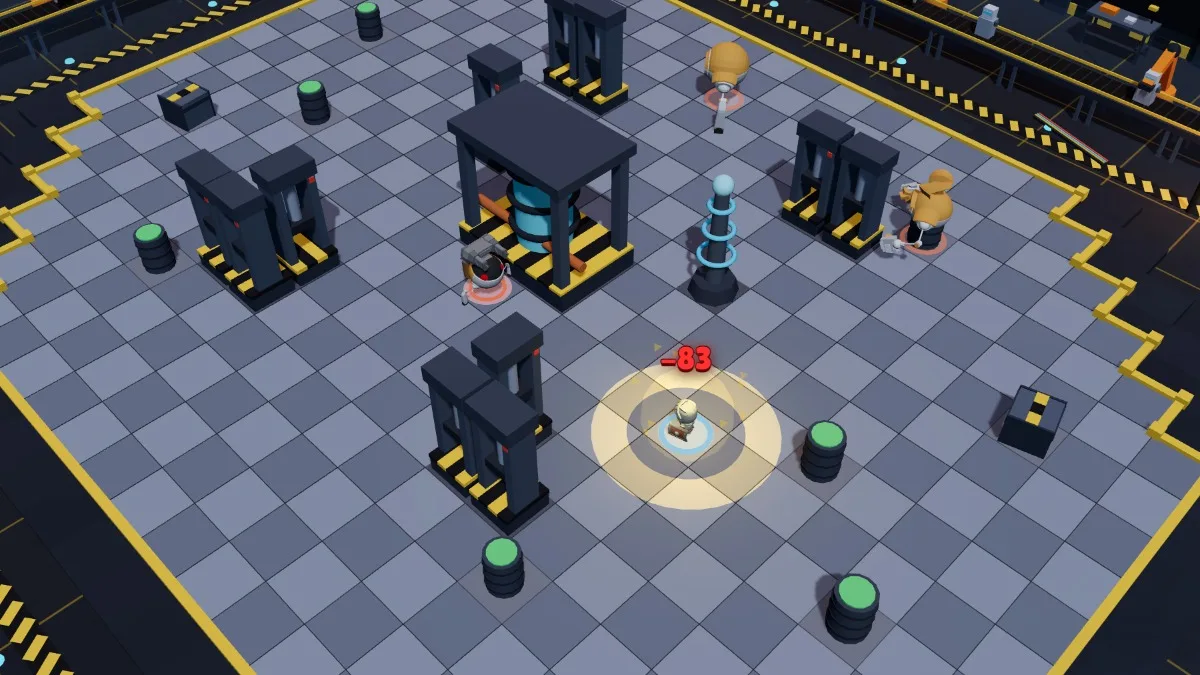
The force field
As long as the Sentinel stays within 4 tiles of the Forgemaster, he only takes 50% of the damage, whatever its source. The Sentinel herself is never protected. The field isn’t cast: she just has to be close enough. Draw her away — by pushing her, pulling her, or forcing her to follow you — and the Forgemaster takes your hits in full again.
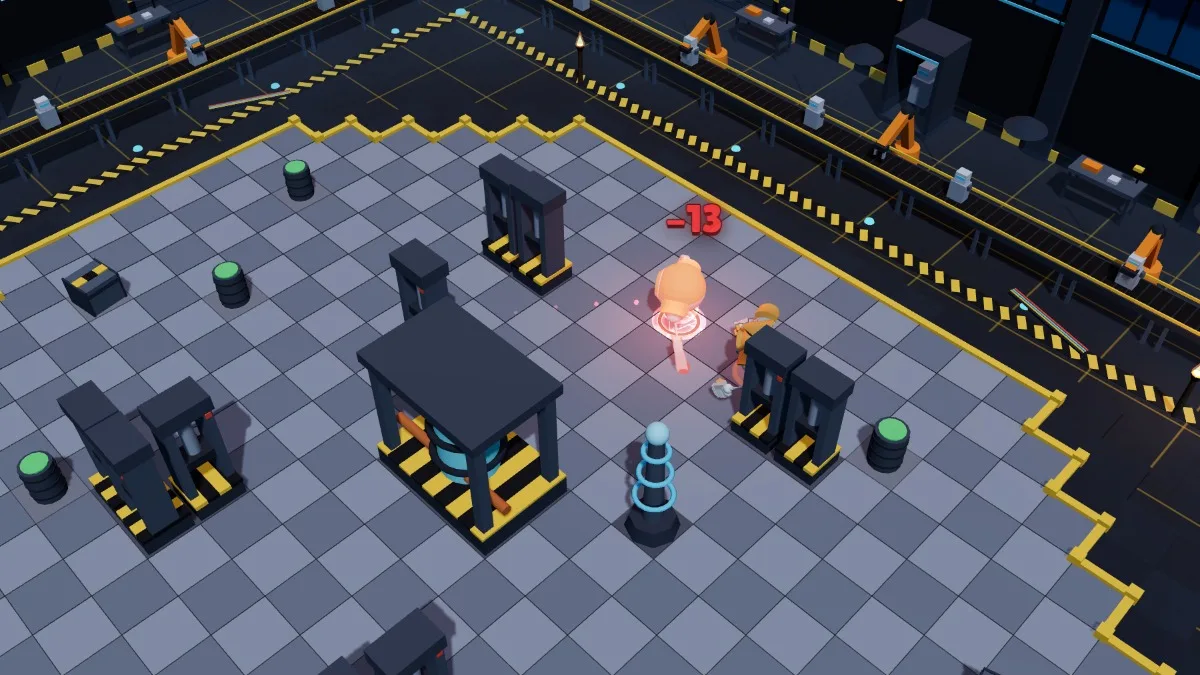
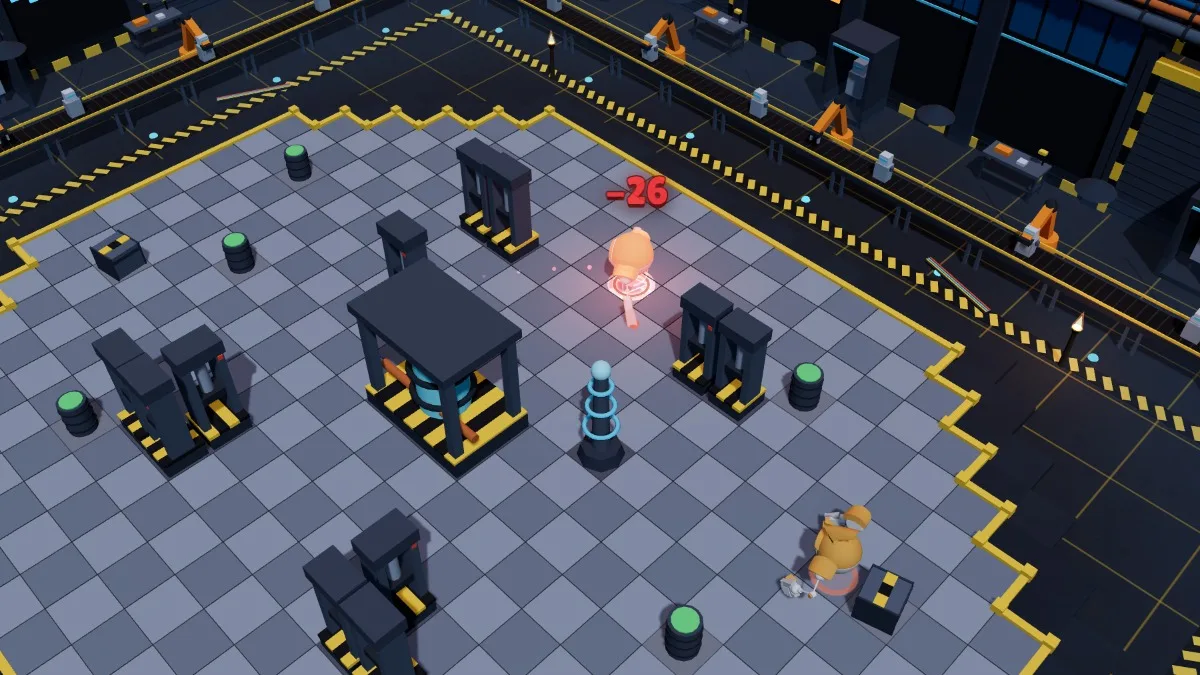
The laser gantry and the console
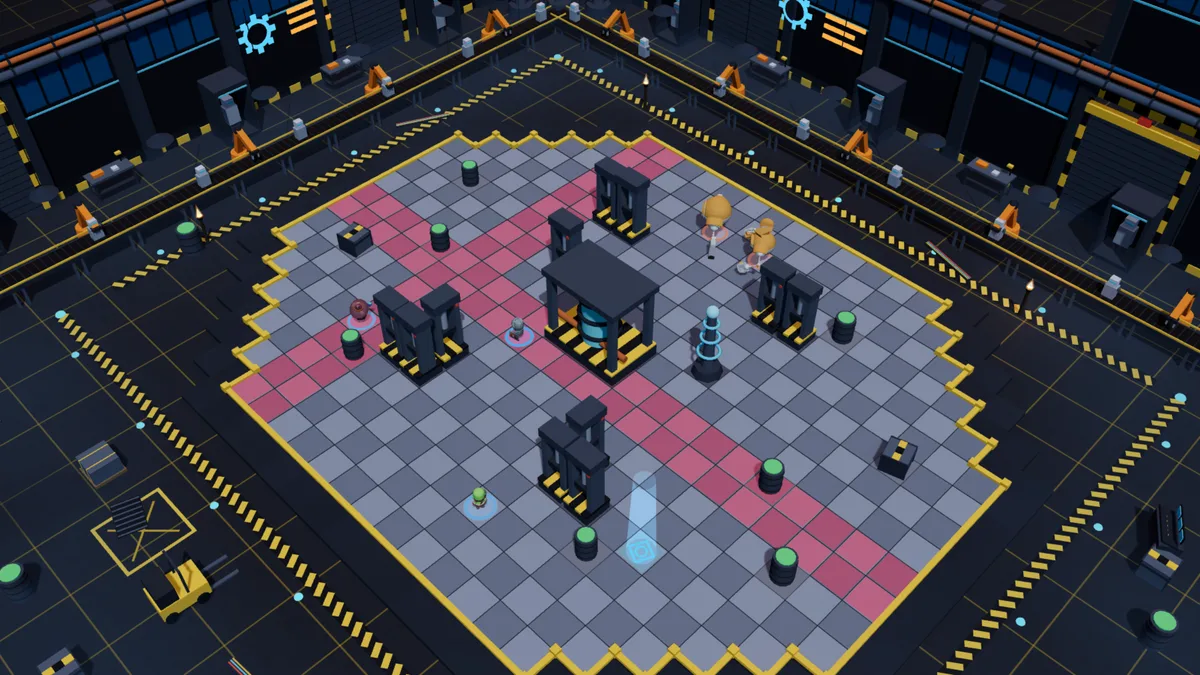
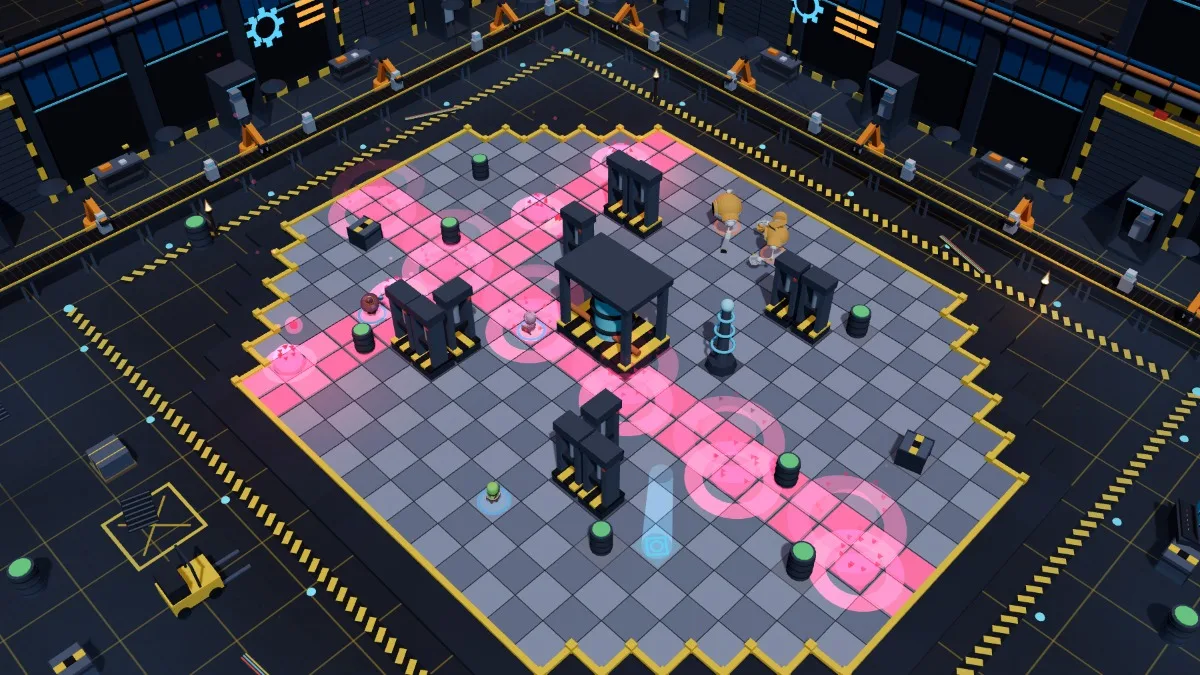
On each of the Forgemaster’s turns, the laser gantry locks on to new targets: a band of 2 full rows or 2 full columns per hero, and 1 more at random. They light up red on the deck. On the Forgemaster’s next turn, it fires: 150 to 180 damage to every hero standing on those bands. The bosses and their robots take nothing: it’s their weapon. Walls don’t protect you: the laser comes down from the ceiling.
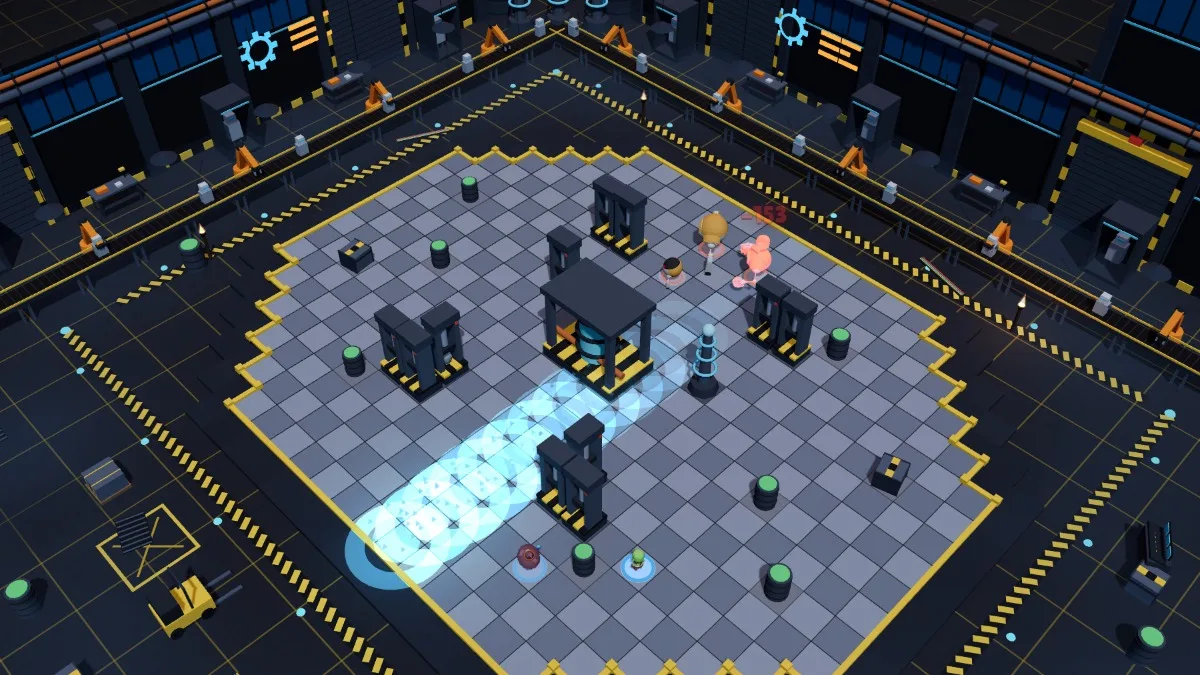
The console is a blue pad that appears with each aim, on a free tile drawn at random, always outside the red bands. If a hero stands on it when the gantry fires, it is hacked: instead of its bands, it fires a single line: the entire column of one of the two bosses, at random, from the bosses’ side to yours. It strikes everything on it: the bosses, their robots, and your heroes too. The console disappears after the shot, and the next one appears elsewhere.
Overload
When one of the two bosses falls, the other goes into overload until the end of the fight: 30% more damage and 2 MP more. If you take down the Sentinel, the Forgemaster is no longer protected, but he hits harder; if you take down the Forgemaster, his robots disappear and the gantry shuts down, but the Sentinel goes hunting.
The Robot Factory
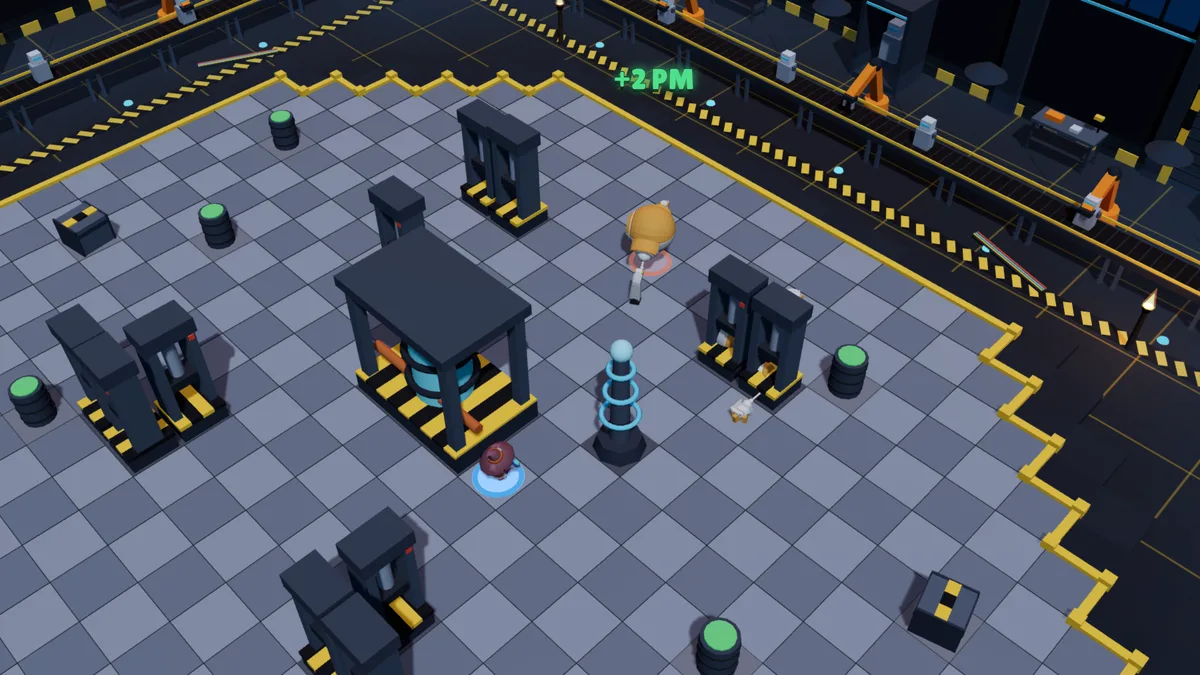
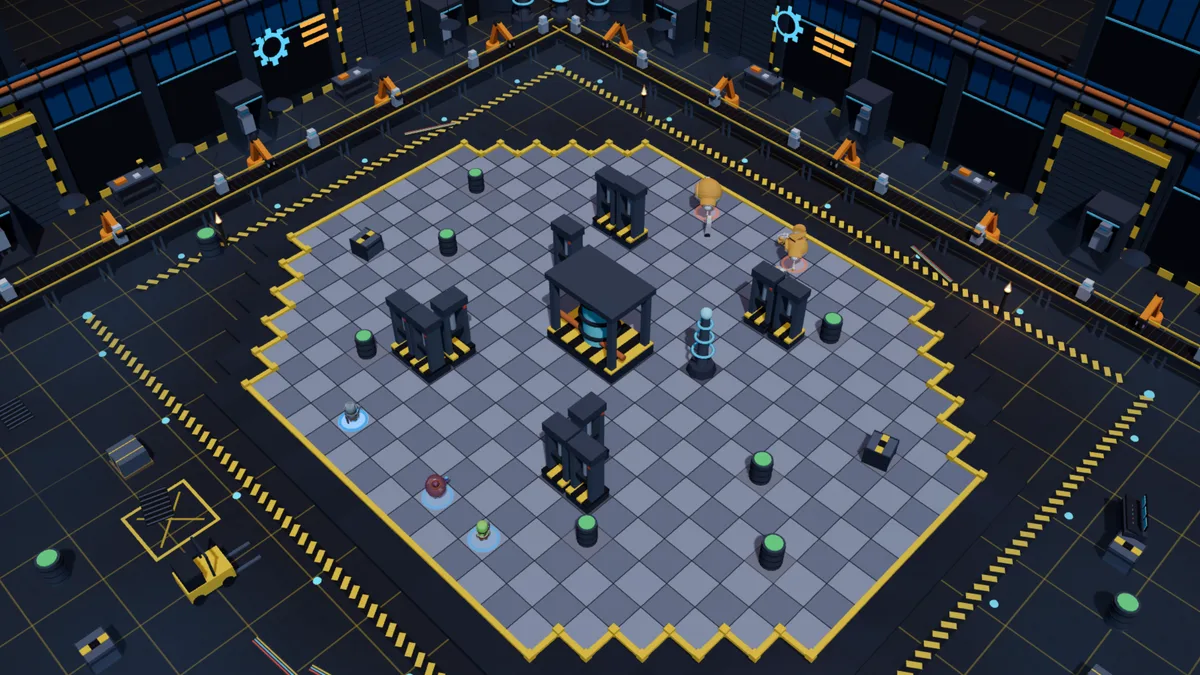
An octagonal steel deck in the middle of a factory hall. In the centre, the reactor blocks the view between the two sides; presses mark out the corridors where the Turrets hold their lines. The bosses start at the top, the heroes at the bottom. The gantry’s console moves with each aim.
How to beat them
- Clear the robots: they arrive every turn. A Kamikaze destroyed from range doesn’t explode; a lone Turret off its line can’t touch you.
- Split the bosses: as long as the Sentinel sticks to the Forgemaster, he takes only half damage. Hit him when she moves away, or focus on her.
- Read the red: get off the gantry’s bands before it fires. It only strikes your heroes.
- Take the console: a hero on it when the gantry fires, and the laser fires on a boss’s line. Keep your heroes out of the bosses’ columns: the hacked line strikes them too.
- Watch out for the lock-on: the locked-on hero draws the Kamikazes and the Turret shots; get them into cover, or use them as bait.
- Prepare for the overload: before finishing a boss, make sure the other one can’t reach you on the next turn.
Solo, duo, trio
- Solo — the robots have the fewest HP, and the gantry only aims one band at you and one at random: dodging is easy. But nobody cleans up for you: kill every Kamikaze before it reaches you, and only aim at the Forgemaster once the Sentinel has moved away.
- Duo — split the roles: one destroys the robots and keeps an eye on the console, the other harasses the Sentinel to draw her away from the Forgemaster. The locked-on hero falls back, and their partner shoots down the Kamikazes chasing them.
- Trio — the gantry aims one band per hero: never line up on the same row or column. One hero for the console, one for the robots, one for the bosses; the sturdier robots often take two hits.
Tips by class
- Warrior — Taunt pulls the Sentinel to you, away from the Forgemaster: the field drops. Lunge sweeps three tiles and clears the robots next to you; its variant, Bulwark (in place of Warrior’s wrath), absorbs a gantry shot you couldn’t dodge. Another variant, Barrier (in place of Taunt), raises a wall that cuts off the Kamikazes’ path and the Turrets’ line of sight.
- Brute — Stomp hits everything within 2 tiles: ideal when robots pile up around you. Roar slows the Sentinel, who partly resists it; Stoneskin saves the locked-on hero. With its variants, the beasts of the pack keep the robots busy, and Rush makes them strike outside their turn.
- Arcanist — your Focus rewards distance: shoot the Sentinel from afar. Comet and Blast catch the robots clustered near the Forgemaster; Blink gets you off a red band. With the variants, Soothing chant heals the locked-on hero and wounds the robots in the area.
- Shade — lay your traps on the Kamikazes’ path: they rush towards the locked-on hero, and a trap stops and wounds them before they reach them. Under Shadow veil, neither Lock-on, nor Rivets, nor Beam can target you; a Kamikaze explosion still can. With the variants, Evil eye can be set twice per turn: enough to sow their path to the locked-on hero.
- Clockmaker — Reversal throws the Sentinel to the other side of you: one well-placed swap is enough to cut the force field. Reflection takes you across a red band in one go, using a robot or an Automaton as your anchor point. With the variants, Breaker and Call of the void pull the Sentinel away from the Forgemaster, and your spells go through your rifts to reach her behind her robots.
- Artificer — your charges explode 2 tiles around: lay them where the Forgemaster assembles. Shove pushes the Sentinel back 3 tiles; and with a charge placed on the console, Relay takes you there, as long as you can see it. With the variants, Grapple bunches the robots up for a turret explosion, and the healing turret heals the locked-on hero by itself.
Common mistakes
- Hitting the Forgemaster under the field: half your damage is lost. Check where the Sentinel is before every big spell.
- Ending your turn on a red band: the gantry fires on the Forgemaster’s next turn, and walls don’t protect you.
- Letting a Kamikaze reach you: it explodes on its turn. Destroyed first, it does nothing.
- Lining up with a Turret: it only fires in a straight line. One step aside is often enough.
- Hacking from a boss’s column: the hacked line also hits your heroes standing on it.
- Taking down a boss too early: the other goes into overload. Finish it when the group is ready to take the hits.
The weekly boss
The robots were the weekly boss from Monday 5 to Sunday 11 October 2026: the free boss and its paid version were played against them, and damage to both bosses counted towards the leaderboard. Then came the Matriarch, from Monday 12 to Sunday 18 October 2026, and the Goleling King from Monday 19 October. Win or lose, a boss’s loot no longer gives Waris, only crystal chances for every % of its HP your team takes off: a 0.3% chance of a Common Crystal in the Waris boss; 1.5% for a Common Crystal and 0.05% for a Legendary Crystal in the weekly boss in USDC. The leaderboard, the prize pool and the loot in detail are on the Loot page.
There is no defeat against a boss: bringing it down is a victory, falling before that counts neither as a defeat nor as a victory. Experience, like the loot, follows the share of its HP your team took off.
Frequently asked questions
Should you kill the Sentinel or the Forgemaster first?
Damage to both counts. As long as the Sentinel stays within 4 tiles of the Forgemaster, he takes only half damage: split them up, or take down the Sentinel first. But the first one to fall sends the other into overload.
How many robots can the Forgemaster build?
No limit. One robot per turn, two once he is below half his HP. Destroying them as they come is the heart of the fight.
How do you hack the laser gantry?
When the gantry aims its lines, a console appears: a blue pad, in a different place every time, outside the red bands. Put a hero on it. If they are standing on it when the gantry fires, the laser fires a single line, the column of one of the bosses, from the bosses’ side to yours, and strikes everything on it: bosses, robots and heroes.
Does the Kamikaze explode when you destroy it?
No. It only explodes next to a hero, on its own turn. Destroyed first, it disappears without dealing damage.
Does damage to the robots count towards the leaderboard?
No: only damage to the two bosses counts, 10,000 HP between them. The robots earn you nothing — but they kill.
Does the force field protect the Sentinel too?
No. It only protects the Forgemaster, and only while the Sentinel stays within 4 tiles of him. The Sentinel always takes all your damage.